Low-Cost Ways to Soundproof a Home Office for Recording
You don't need a massive budget or expensive studio foam to get clear, professional audio in your home office. Many creators assume that silence is something you have to buy, but in reality, you can achieve impressive results using items you likely already have tucked away in your closets or garage. If you are tired of hearing your neighbor's lawnmower or the hum of your refrigerator in your latest video, you are in the right place. By understanding how sound waves bounce off hard surfaces, we can use household materials to absorb echoes and block external noise for practically zero dollars.
The Secret to Great Audio: Absorption vs. Blocking
Before we start moving furniture, it is helpful to understand one key distinction: soundproofing and acoustic treatment are not the same thing. Soundproofing is about keeping outside noise out, while acoustic treatment is about making the sound inside your room cleaner and free of echo. Most of us home-based creators are really looking for better acoustic treatment. We want to stop the sound from bouncing off the walls, which creates that "hollow" bathroom sound.
Why Hard Surfaces Are Your Enemy
Think about the last time you walked into an empty apartment with hardwood floors and bare walls. Every time you spoke, your voice echoed back at you. That is exactly what your microphone hears. Sound waves are energetic little things that love to reflect off flat, hard surfaces like:
- Drywall or plaster walls
- Windows and glass doors
- Hardwood, tile, or laminate flooring
- Bare ceilings
When you introduce soft, porous materials into the room, you are essentially creating "traps" for these sound waves. Instead of bouncing back, the waves get stuck in the fibers of the material, which significantly lowers the reverberation in your recording space.
DIY Sound Absorption Hacks
Now that we know the culprit, let us talk about the solution. You likely have massive, soft objects all over your home that act as perfect acoustic panels. The goal here is to cover as much "naked" surface area as possible.
Use Your Wardrobe and Linens
One of the best professional secrets is the humble moving blanket. If you have old blankets, comforters, or duvets, you are already halfway to a studio. Hang these on the walls behind your microphone or draped over windows to dampen sound.
"Soft materials act like sponges for sound, soaking up the reflections that would otherwise ruin your audio quality." — Experienced Home Studio Producer
If you want to get creative, try these tips:
- Wall Hangings: Use command hooks to hang thick decorative quilts or comforters on the walls.
- Closet Recording: If your office is too large and echoes too much, consider recording inside a walk-in closet filled with clothes. It is one of the most "dead" spaces you can find.
- Rug Layering: If you have hardwood floors, lay down every rug you own. Even a thin rug is better than a bare floor.
Rearrange Your Furniture for Better Sound
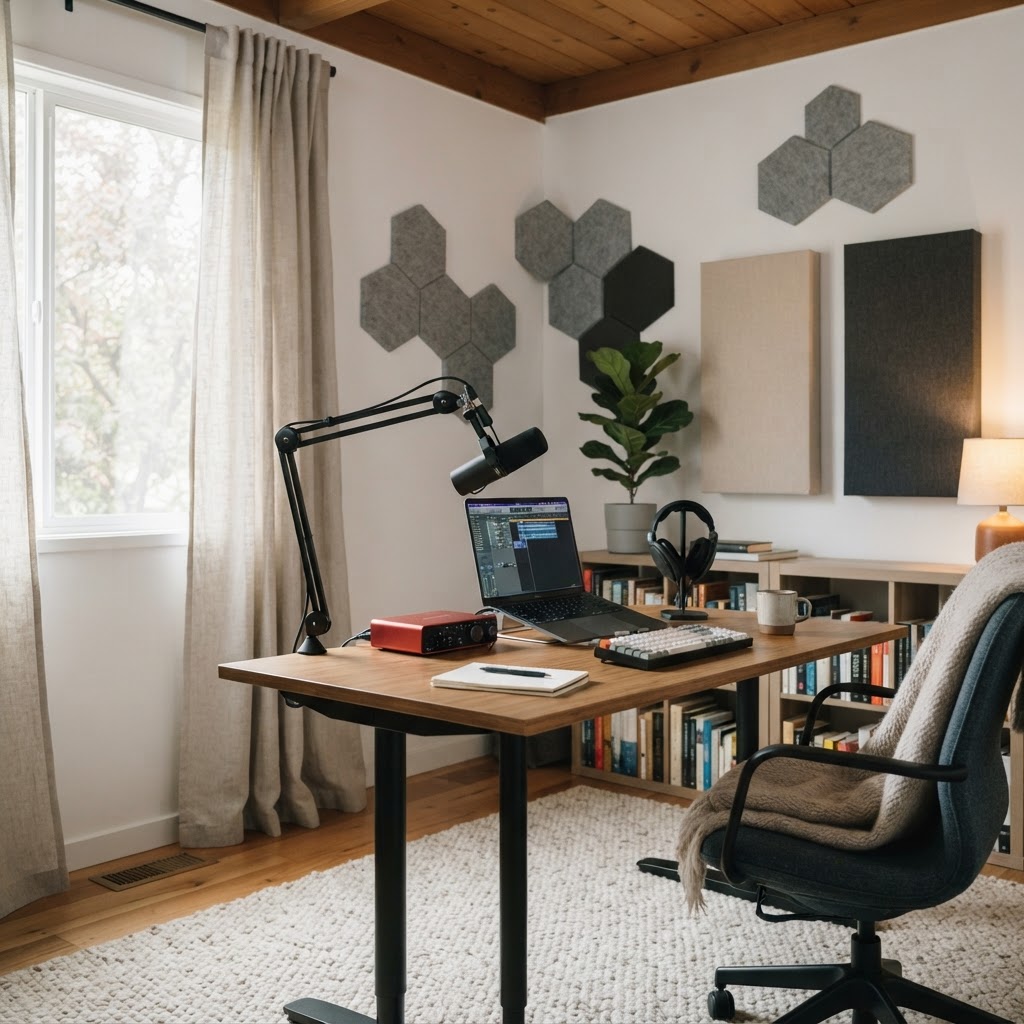
Believe it or not, your bookshelf is a world-class diffuser. A bookshelf filled with books of varying sizes breaks up sound waves, preventing them from bouncing back in a straight line. Move your bookshelf to the wall directly behind you or to your side to create an irregular surface that scatters sound.
Managing External Noise for Free
Blocking external noise is trickier than just adding rugs, but it is entirely possible with some clever DIY solutions. The biggest leaks in your home office are usually air gaps around doors and windows. Sound travels through air; if air can get in, sound can follow.
Sealing the Door Gaps
If you can see light coming from under or around your office door, you are losing sound isolation. You can fix this for a few dollars:
- Door Snakes: Roll up a heavy towel or a thick blanket and place it firmly against the bottom of your door.
- Weatherstripping: Purchase a roll of foam tape from the hardware store to apply around the door frame. This creates a tight seal that significantly reduces low-frequency rumble from the rest of the house.
Window Treatments
Glass is terrible for sound. It is rigid and vibrates easily. To stop sound from leaking through your windows, you need mass. The heaviest curtains you own, or even a couple of layers of thick fleece blankets tacked over the window frame, will provide a noticeable difference. Ensure the material covers the entire window and overlaps the edges slightly to minimize gaps.
Fine-Tuning Your Recording Environment
Once you have softened the room and sealed the gaps, it is time to look at how you are interacting with your space. You can have the best-treated room in the world, but if your mic technique is poor, your audio will suffer.
The Importance of Mic Placement
Always try to record with your back to the most "treated" wall. If you have a blanket hanging on the wall, sit so that the wall is directly in front of your microphone. This ensures that the sound coming out of your mouth hits the soft surface before it has a chance to bounce around the room.
Monitor Your Levels and Background Hum
Before you hit record, take a moment to listen. Can you hear the hum of a computer fan? The refrigerator? The HVAC system? Turn off anything that creates a constant drone while you are recording. Even a small fan can add a layer of "noise floor" that is difficult to remove in editing. Take a few minutes to be still, listen, and eliminate the sources of these persistent sounds.
Final Encouragement for Creators
Getting a professional sound on a budget is a marathon, not a sprint. Do not feel like you need to have a perfect "studio" today. Start by hanging one blanket or moving one bookshelf and compare your audio test recordings. You will be shocked by how much of a difference even small, incremental changes can make. Remember, your audience cares more about clear, distraction-free audio than they do about how your room looks on camera. Keep experimenting, keep testing, and you will find the setup that works best for your specific space.