
How to Start a Community Tool Library: A Step-by-Step Guide
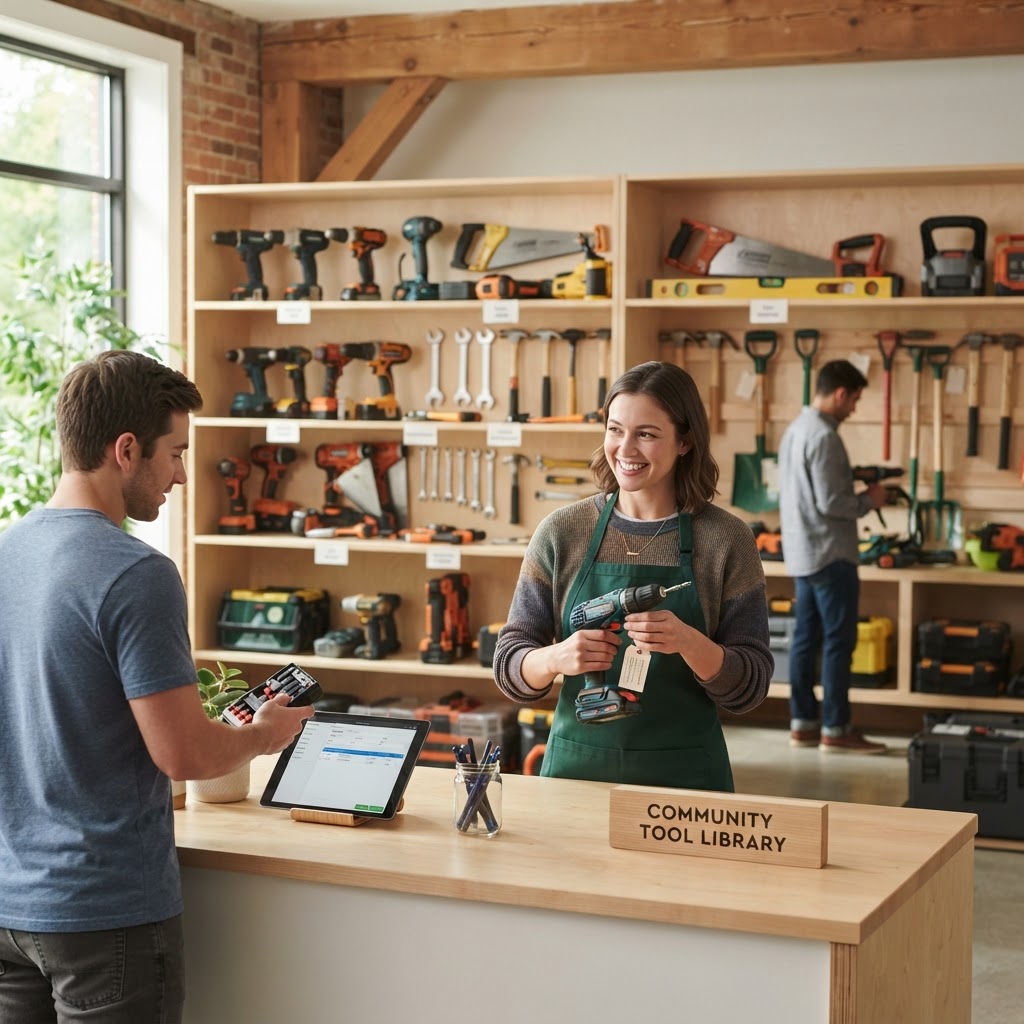
Starting a community tool library is one of the most rewarding ways to shrink your environmental footprint while building real, lasting connections with your neighbors. At its heart, a tool library works like a public book library, but instead of novels, you’re lending out drills, circular saws, lawnmowers, and pressure washers. To get started, you need to recruit a core group of volunteers, secure a modest storage space, establish a simple inventory system, and create a clear set of safety waivers and usage policies. By pooling resources, you ensure that high-cost items aren't sitting idle in garages while someone three houses down is forced to buy a tool they’ll only use once.
Why Start a Neighborhood Tool Library?
Think about the last time you needed a specialized tool for a weekend DIY project. You likely spent fifty dollars on a piece of equipment that is currently gathering dust in your basement. Multiply that by every house on your block, and you have hundreds of thousands of dollars in wasted capital and storage space. Community tool libraries foster a circular economy by maximizing the utility of every wrench, hammer, and ladder in the zip code.
Beyond the financial savings, these projects solve the problem of urban clutter. Not everyone has a workshop, and many apartment dwellers lack the space to store bulky machinery. By launching a library, you are essentially providing neighbors with a shared workshop. This promotes sustainable living and encourages people to repair their belongings rather than throwing them away, which is a massive win for the environment.
Phase 1: Building Your Core Team
Do not try to do this alone. You need a team that covers a few different skill sets: someone who is organized enough to manage the inventory, someone who knows their way around basic maintenance, and someone who is good at talking to the community. Reach out to local neighborhood associations, Facebook community groups, or even your local library branch.
Recruiting Your Volunteers
Start by hosting a low-pressure interest meeting. Ask people to bring one tool they would be willing to donate or lend. This accomplishes two things: you start building your inventory immediately, and you identify people who are genuinely invested in the project's success. Focus on these roles:
- Inventory Manager: Keeps track of who has what and when it is due back.
- Repair Technician: Performs routine maintenance to ensure tools remain safe.
- Outreach Coordinator: Handles social media and local flyer distribution.
"The best way to build community is to give neighbors a reason to talk to one another over a shared goal, rather than just passing in the street."
Phase 2: Finding a Space and Sourcing Tools
Your tool library does not need a storefront. In the beginning, a shared shed, a basement of a community center, or even a converted garage is perfect. What matters is accessibility. If your space is too difficult to find or hard to get to, usage will drop off.
Inventory Management Tips
When it comes to tools, quality over quantity is the golden rule. A well-maintained corded drill is better than three broken cordless ones. Start by requesting donations of high-demand items:
- Power drills and impact drivers
- Circular saws and jigsaws
- Ladders and step stools
- Garden tools like rakes and shovels
- Pressure washers and carpet cleaners
Create a simple digital spreadsheet using Google Sheets or a dedicated library management app to track your items. Make sure every tool is clearly labeled with a permanent marker or an engraved sticker so there is no confusion about ownership.
Phase 3: Setting Up Policies and Safety
Before you lend out your first screwdriver, you need to protect your volunteers and the library itself. You aren't just giving out items; you are managing potential liability. Keep your paperwork simple but thorough. You should have a clear liability waiver that users sign upon registering, stating they understand how to use the equipment safely.
Creating a Borrowing Agreement
- Set clear loan periods (e.g., one week for most tools).
- Implement a modest late fee to encourage timely returns.
- Require a brief safety orientation for complex power tools.
Phase 4: Launching and Growing
Once your tools are organized and your waivers are printed, it is time to get the word out. Host a "Grand Opening" event. Invite neighbors to bring a tool to donate and have a small barbecue or coffee morning. This makes the library feel like a community hub rather than a cold, transactional service.
Spreading the Word
- Use neighborhood apps like Nextdoor to share your mission.
- Post flyers in local hardware stores and coffee shops.
- Share photos of people working on successful DIY projects using library tools.
Growing your library is an ongoing process. As you get more members, you will be able to afford better storage solutions or even apply for local grants to purchase high-end items that no single resident could afford on their own. The goal is long-term sustainability, so encourage members to donate a small annual "membership fee" to cover insurance and repair costs. This creates a sense of shared ownership and keeps the project alive for years to come.