
How to Preserve Garden Harvest Without Canning: Easy Guides
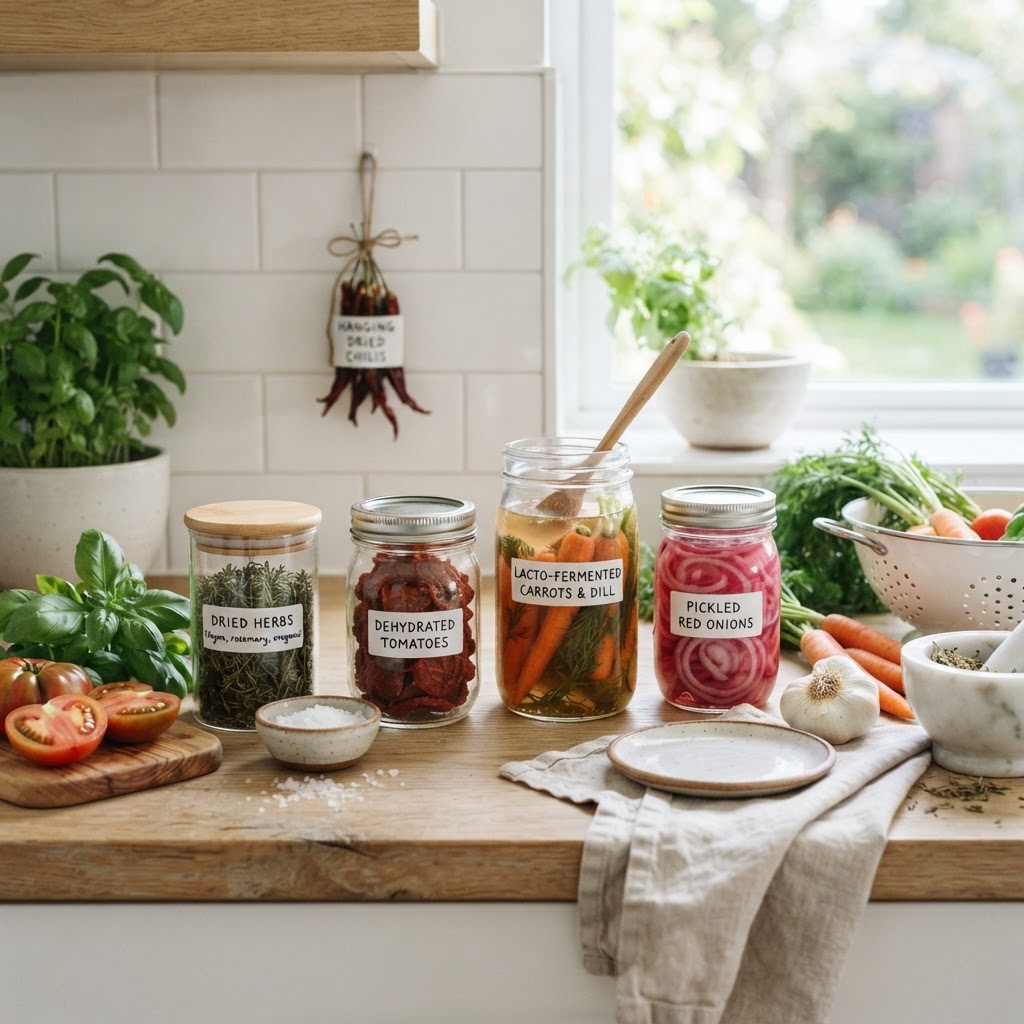
If you are staring at a mountain of tomatoes or a surplus of herbs and dreading the long, hot hours of water-bath canning, you are not alone. You can absolutely enjoy the fruits of your labor year-round without ever touching a pressure cooker or a stack of Mason jars. Preserving your garden harvest is essentially about removing moisture or creating an environment where spoilage bacteria cannot survive. By mastering techniques like dehydration, salt-curing, and oil-infusion, you can save your food effectively, safely, and with much less stress.
The Magic of Dehydration: Nature's Oldest Trick
Dehydration is perhaps the most approachable way to start your preservation journey. By simply pulling moisture out of your produce, you stop microorganisms from multiplying. It is incredibly space-efficient, as dried foods shrink significantly, meaning you can fit pounds of summer bounty into a few small jars. Best of all, it preserves the nutritional profile of your food without adding artificial preservatives.
To get started, you don't even need a fancy electric dehydrator. You can use your oven on its lowest setting, or even just air-dry herbs by hanging them in bundles in a warm, dry spot. If you want to invest in a dehydrator, look for models with adjustable thermostats to ensure you are not cooking the food, but simply drying it out. The goal is to reach a level of "leathery" or "brittle" dryness that prevents mold growth.
Best Crops for Drying
- Herbs: Basil, oregano, and rosemary are perfect for air-drying.
- Tomatoes: Slow-dry them to create intense, flavorful sun-dried tomatoes.
- Apples and Pears: Slice them thin to create healthy, shelf-stable snacks.
- Hot Peppers: Dry them whole and grind them into custom chili powders.
Salt-Curing: Flavor and Longevity Combined
Salt has been used for centuries to draw moisture out of food and preserve it. It works through a process called osmosis, pulling water from the cells of the produce and creating a high-salinity environment where bacteria simply cannot thrive. Think of the last time you saw a jar of preserved lemons or salt-packed herbs—these are intense flavor bombs that stay fresh for months in the fridge or pantry.
For beginners, I recommend starting with salt-packed herbs. Finely chop your fresh herbs and layer them with coarse sea salt in a small glass jar. Every time you need a punch of fresh flavor in a winter soup or stew, just reach for a teaspoon of the mixture. Remember to adjust the salt content of your recipe accordingly, as these herbs pack a salty punch!
"Salt is the foundation of flavor preservation; it pulls out the water that causes spoilage while locking in the essential oils that make your harvest taste like summer." — Preservation Expert
Quick Tips for Successful Curing
- Always use non-iodized salt, like kosher or sea salt, for the best texture.
- Ensure your produce is thoroughly washed and dried before adding salt.
- Keep your jars in a cool, dark place to maintain color and potency.
Oil Infusion: Preserving Essence and Aroma
If you want to keep the delicate aromatics of your garden alive, oil infusion is your best friend. By submerging fresh herbs or peppers in high-quality olive or avocado oil, you create a barrier against the air, preventing oxidation. It creates a gourmet product that you can drizzle over pizzas, salads, or roasted vegetables all winter long.
However, you must be careful with oil-infused items. Low-acid ingredients like garlic or fresh basil can create an environment for Clostridium botulinum if stored at room temperature. For absolute safety, keep all herb-infused oils in the refrigerator and use them within two weeks, or freeze them in ice cube trays for easy, portioned use throughout the year.
How to Make Freezer-Friendly Herb Cubes
- Finely chop your fresh herbs.
- Place them into ice cube trays, filling each section about 3/4 full.
- Top off each section with olive oil.
- Freeze until solid, then transfer the cubes to a freezer-safe bag.
Simple Storage Tips for Busy Gardeners
You do not need a root cellar to enjoy your harvest. Many vegetables, like potatoes, onions, and winter squash, are "self-preserving" if you store them correctly. They prefer cool, dark, and well-ventilated spaces. Keep onions away from potatoes, as the gases they release can make potatoes sprout faster. A simple basket in a dark basement closet is often enough to keep these crops going well into the late winter.
Lastly, don't overlook the humble freezer. While not "canning," freezing is the ultimate cheat code for busy gardeners. Blanching vegetables like green beans or broccoli for two minutes in boiling water before shocking them in an ice bath locks in their bright green color and crisp texture before you tuck them into freezer bags.
By diversifying your methods—dehydrating for snacks, salting for seasonings, and freezing for bulk meals—you can manage even the largest harvest without spending a single minute pressure canning. Start small, experiment with one method this weekend, and enjoy the satisfaction of eating from your own garden long after the snow falls.